How to Choose Plastic Injection Molding Machines?
Choosing plastic injection molding machines is a production decision, not a catalog exercise. The correct press must match resin behavior, part geometry, output targets, and factory limits. PlasticsEurope’s Plastics—The Fast Facts 2023 reports 400.3 million tonnes of global plastics production in 2022. That scale hides a practical truth. Small errors in machine selection can repeat across thousands of cycles. A press may look affordable, yet consume more energy, require longer setup time, or produce unstable parts.
This guide explains how to compare clamping force, injection capacity, screw design, control systems, and automation. It also considers cycle time, mold dimensions, cooling, maintenance access, and operator safety. The OECD’s Global Plastics Outlook reports that global plastic waste reached 353 million tonnes in 2019, while only 9% was recycled. This finding strengthens the case for efficient processing, durable tooling, and reduced scrap. Energy figures should be checked at the actual plant, however. Brochure ratings rarely describe your material, mold, or shift pattern.
A sound choice begins with measured data. Record part weight, runner weight, projected area, resin grade, cycle time, and reject rate. Then request trials using the intended mold and material. A supplier’s engineering team should explain pressure, speed, and temperature limits clearly. Do not trust impressive tonnage alone. It can be the wrong metric. Total cost includes electricity, auxiliaries, spares, training, downtime, and future upgrades. No spreadsheet is perfect. This guide stays cautious where published comparisons are incomplete, helping buyers choose plastic injection molding machines with evidence rather than confident guesses.
Estimate Clamp Force from Projected Area Using the 2–5 ton/in² Rule of Thumb
How to Choose Plastic Injection Molding Machines?
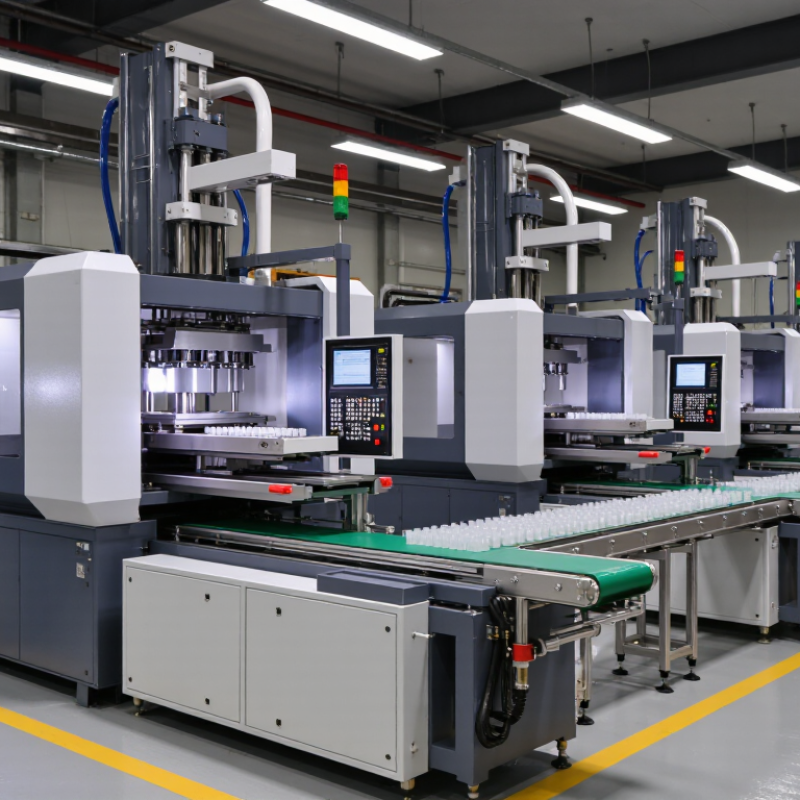
Estimate clamp force from the part’s projected area, not its surface area. Projected area is the silhouette seen from the clamping direction. Add the areas of every cavity and, where relevant, the runner system. A common shop-floor estimate is 2–5 tons per square inch of projected area. This range reflects differences in resin, part geometry, and cavity pressure; it is a starting point, not a guarantee. The Injection Molding Handbook by Rosato, Rosato, and Rosato describes projected area and cavity pressure as key factors in determining clamp requirements.
For example, a mold with 40 square inches of total projected area suggests roughly 80–200 tons of clamp force. That spread is large. A thin-walled part or a resin requiring higher filling pressure may need a value nearer the upper end. A simple, thick part may need less. Check the resin supplier’s processing data and your molding team’s pressure history before choosing a machine. Industry training materials from the Society of Plastics Engineers also emphasize matching processing conditions to the material and mold, rather than relying on one fixed setting. Leave a reasonable operating margin, but avoid oversizing without cause: excess clamp force can increase mold stress and complicate setup. I’d still verify the estimate with a short trial; the rule is useful, but real molds can surprise you.
Size Shot Capacity to Keep Barrel Utilization Within the 20–80% Range
How to Choose Plastic Injection Molding Machines?
Size shot capacity to keep barrel utilization within the 20–80% range. This range helps balance melt quality and production efficiency. If each shot uses too little of the barrel, resin may sit hot for too long. That can increase the risk of degradation, especially with heat-sensitive materials. A shot that nearly empties the barrel, meanwhile, leaves little room for process variation.
Start with the part’s projected shot weight, including runners and any cold sprue. Then compare it with the machine’s rated shot capacity, while checking whether the rating reflects your specific resin. Capacity figures are often based on a reference material, so they may not translate directly to a different polymer. Ask the machine supplier for resin-specific guidance, and verify it with a small trial.
Aim for a practical fit, not a perfect number. A 100-gram total shot in a machine rated for 500 grams uses only 20% of capacity; if the cycle is long, residence time deserves attention. Real parts vary. Leave enough capacity for stable filling, but avoid buying a much larger machine than the job needs. Track cushion, melt condition, and cycle consistency during trials. One overlooked runner change can shift utilization outside the target range.
Compare Screw L/D Ratios, Commonly 18:1–24:1, and Required Injection Pressure
When choosing a plastic injection molding machine, treat screw length-to-diameter ratio as a processing clue, not a quality score. Common ratios range from 18:1 to 24:1. A shorter screw may suit straightforward materials and modest mixing needs. A longer screw can support more melting and blending, but may increase residence time or material stress. Details matter.
For example, a shop molding a glass-filled part may need consistent melt temperature and careful mixing. The right ratio depends on the resin, shot size, and cycle, so check supplier processing data and run trials where possible. Watch for unmelted specks, color streaks, or temperature variation at the nozzle. Small signs count.
Required injection pressure deserves equal attention. Thin walls, long flow paths, and small gates can demand higher pressure than a compact, thick part. Compare the machine’s available injection pressure at the planned screw diameter with the mold’s expected needs. Do not select capacity from clamp tonnage alone. Pressure is not the only limit. Excessive pressure can worsen flash, stress, or wear, while too little may leave short shots. I have seen estimates look reasonable on paper, then shift when the gate or resin changes. Leave practical operating margin, but avoid buying far beyond the process without a clear reason.
Check Mold Fit Against Tie-Bar Spacing, Platen Size, and Opening Stroke
Before selecting an injection molding machine, compare the mold’s actual dimensions with the machine’s tie-bar spacing. A mold may fit the platen yet fail to pass between the tie bars. Measure its widest points, including clamps and projecting fittings. Leave practical clearance for positioning and maintenance. Close fits can work on paper. They can be awkward on the shop floor.
Check platen width and height, then confirm the mold’s mounting pattern and available support area. The platen must carry the mold securely, with enough room for bolts and locating rings. Also verify opening stroke and daylight, the maximum space between platens when open. The mold needs room to open fully and release the part. Tall molds, deep cavities, and long core pulls may need extra travel. Measure the part’s removal path, not just the mold’s closed thickness. It is easy to overlook that.
Use the machine maker’s current drawings and the mold builder’s final specifications; nominal dimensions may not tell the whole story. Check ejector travel and connection positions as well, since they affect mold operation. If a dimension is close to its limit, ask an experienced technician to review the layout before installation. A small clearance on a drawing may disappear after hoses, clamps, and handling equipment are added.
How to Choose a Plastic Injection Molding Machine
Check mold fit against tie-bar spacing, platen size, and opening stroke.
Example screening values in millimeters for a mold measuring 600 × 500 mm. Planning targets include clearance around the mold and an estimated 450 mm opening stroke. Confirm mold thickness, clamping force, injection capacity, ejector requirements, and the machine’s detailed specifications before selection.